I thought I'd do a little post about how to do the moon manicure in 4 simple steps! And 3 of those are the brushstrokes. So no need for those paper hole reinforcers, that never make enough of a curve for me anyway.
I like for the moon to be curved, so it doesn't look like nail polish outgrowth!
According to sources, the moon manicure started to become popular in the 1930s and the most common form of the moon manicure was done in a deep red or maroon color. The half-moon shape at the base of the nail was generally left bare, with only a clear coat of polish for shine.
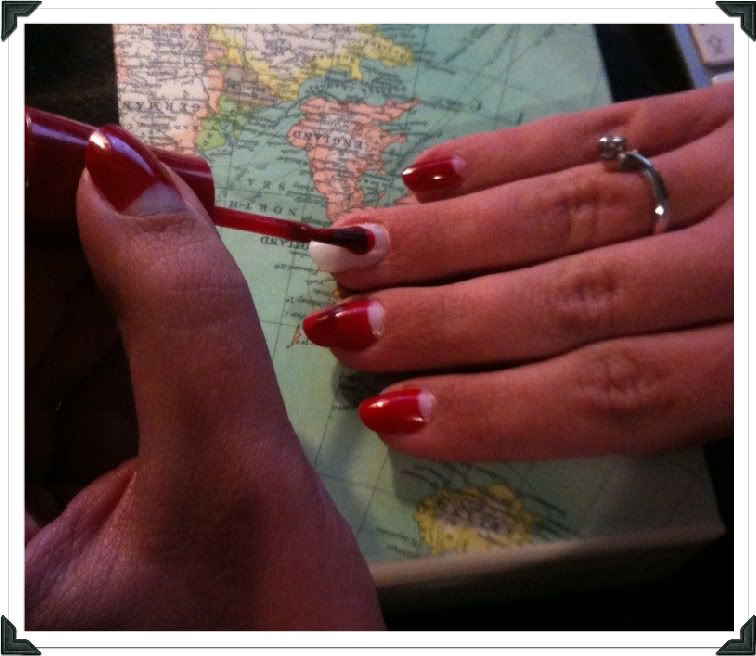
1: Start with the first stroke, the middle one, but start higher up the the bottom of the nail, it wil make the touching up so much easier.
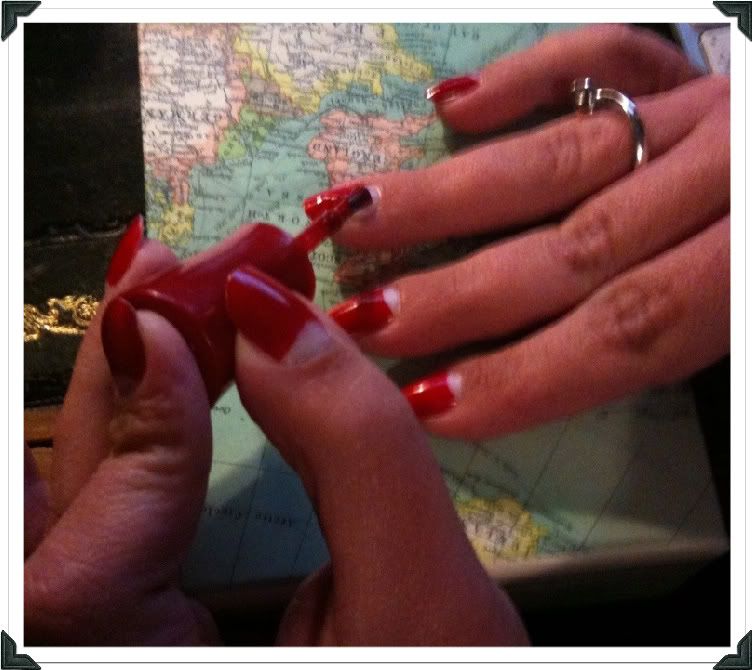
2 + 3: Then you do the two side strokes, begin at an angle sloping down at the sides and meeting the middle stroke higher up. You get a bit of jagged curve, but it will be very easy to clean up.
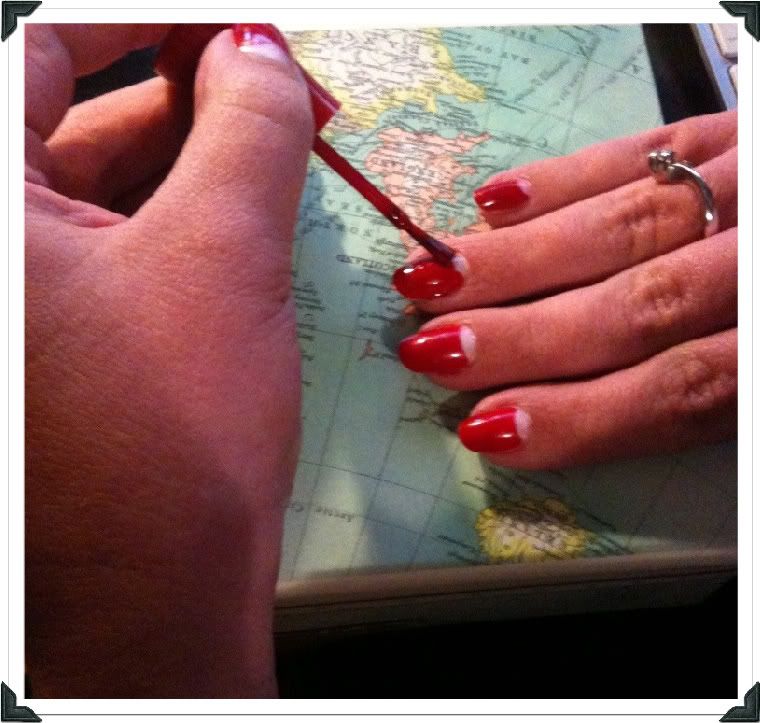

4: Clean up the curve with a cotton bud lightly dipped in nail varnish remover.

Moon manicure!
A little note, my favourite red nail polish that gives excellent cover in one layer is Bourjois So Laque! in 24 Rouge Escarpin.

Darhling
xoxo